Guides
Engrave photos that come out right.
What the laser does to each material, which DPI suits your machine, how dithering works, and how to prepare one photo or a whole folder. Every material guide has our real engine built in, so you can try your own photo right on the page.
By material
Ten presets, each with its own tone recipe and invert setting. The images are our engine’s files for the same photo.
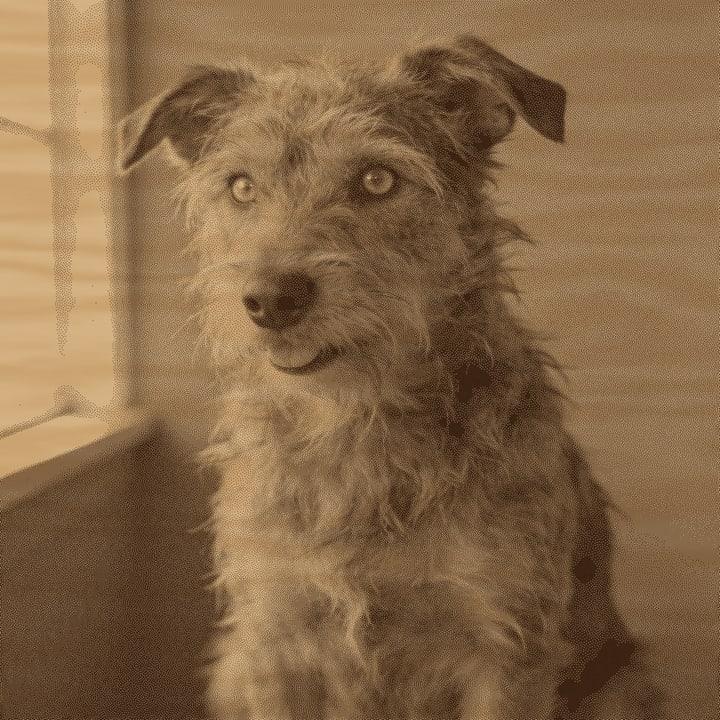 WoodMarks dark, file as is. Burns dark. The preset lifts midtones so faces do not go muddy. Light woods give the most contrast.
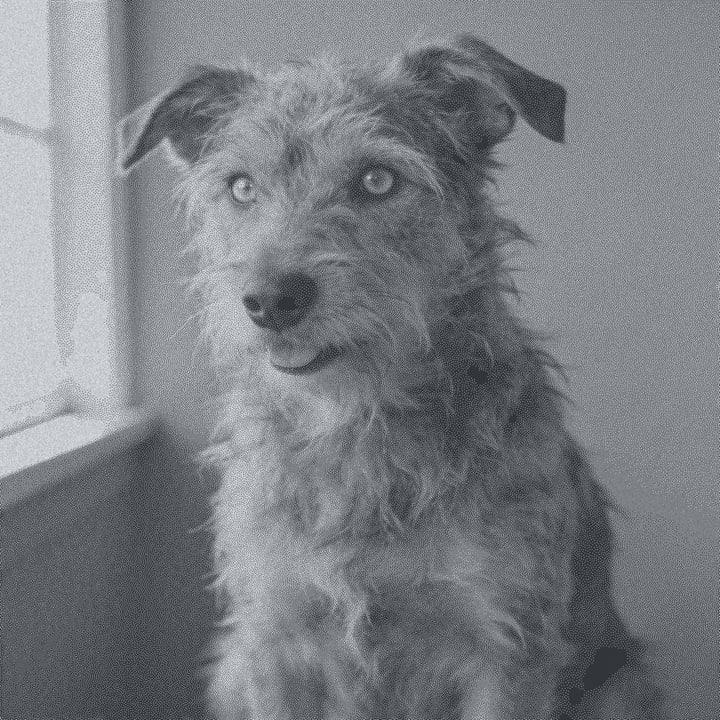 Black SlateMarks light, file inverted. Marks lighter, so the file is inverted. Wipe with oil afterwards to deepen the blacks.
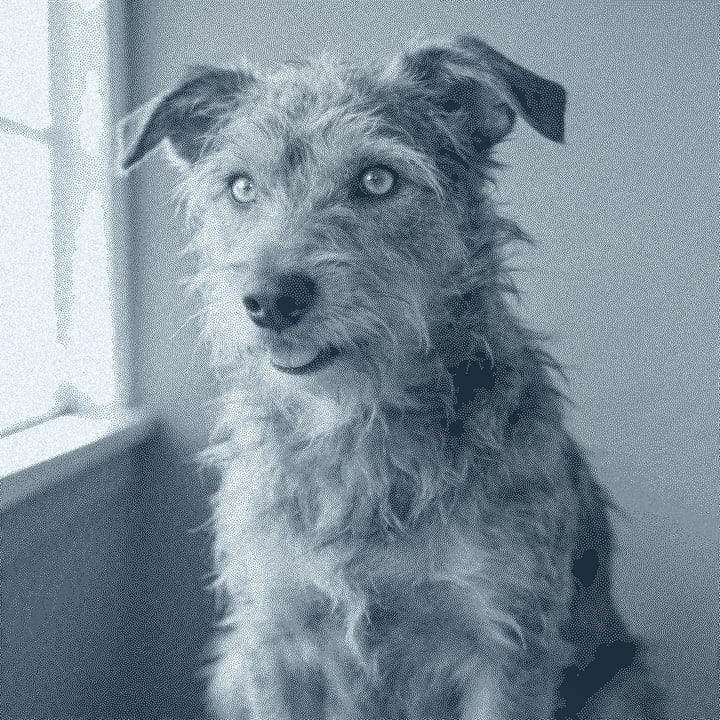 Clear AcrylicMarks light, file inverted. Engrave the back so it reads from the front. Cast acrylic frosts white.
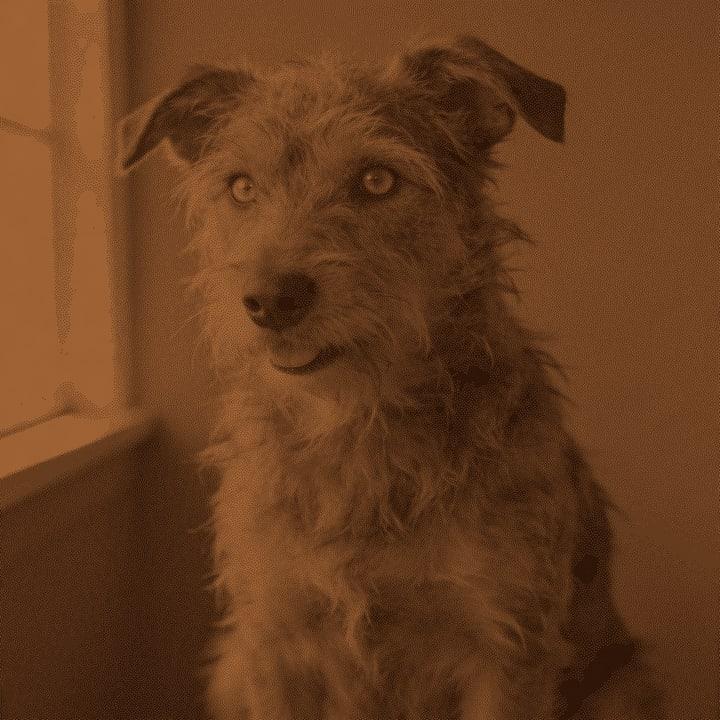 LeatherMarks dark, file as is. Vegetable-tanned leather engraves best. Check what you have first: some types release harmful fumes.
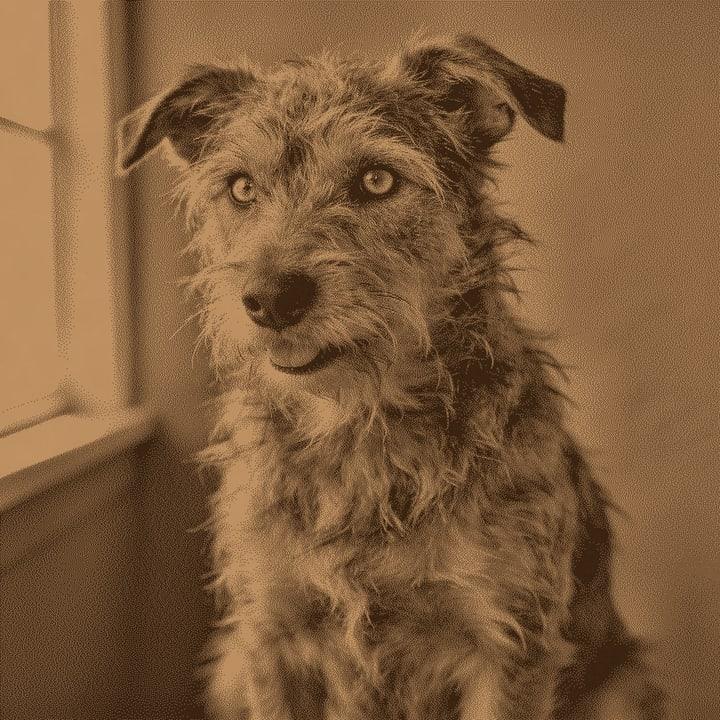 CorkMarks dark, file as is. The grain hides fine detail. Bold, high-contrast subjects work best.
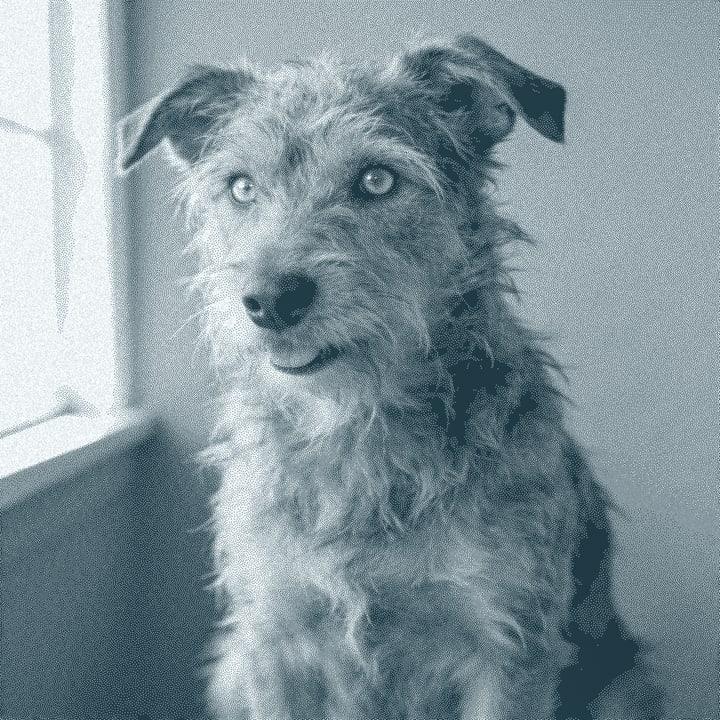 GlassMarks light, file inverted. Frosts rather than burns. A film of wet paper or dish soap reduces chipping. Use 200 to 250 DPI.
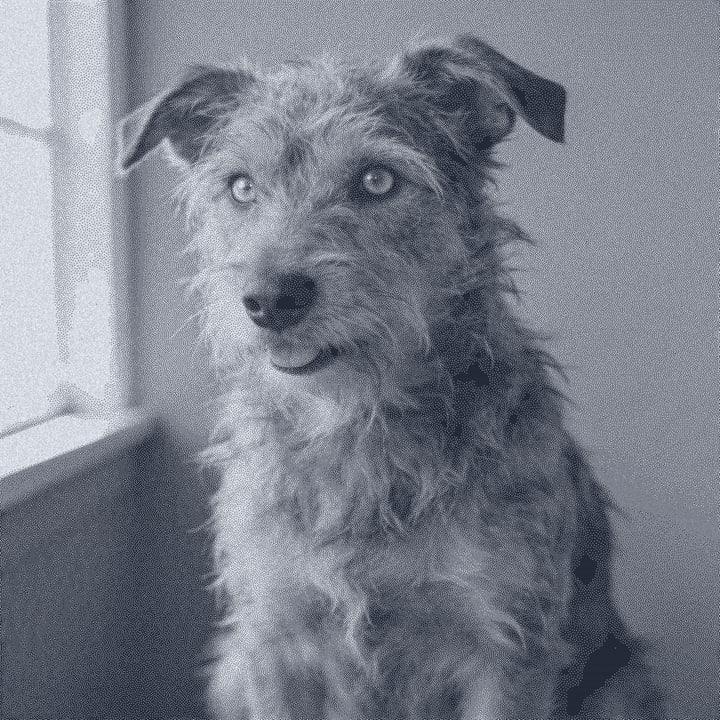 Anodized AluminumMarks light, file inverted. The laser removes the coating to reveal silver metal, so the file is inverted.
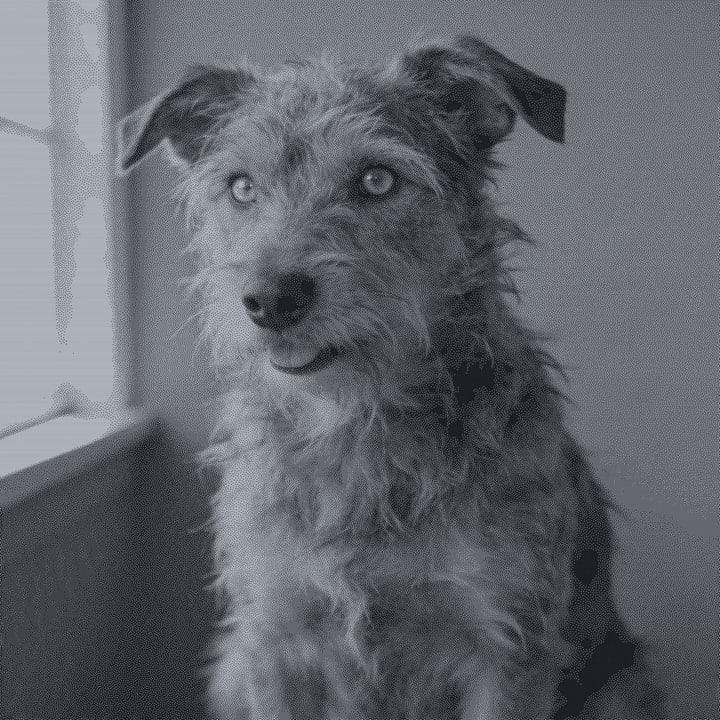 Stainless SteelMarks dark, file as is. Fiber lasers mark it directly; diode and CO2 need a marking spray. 400 to 600 DPI on fiber.
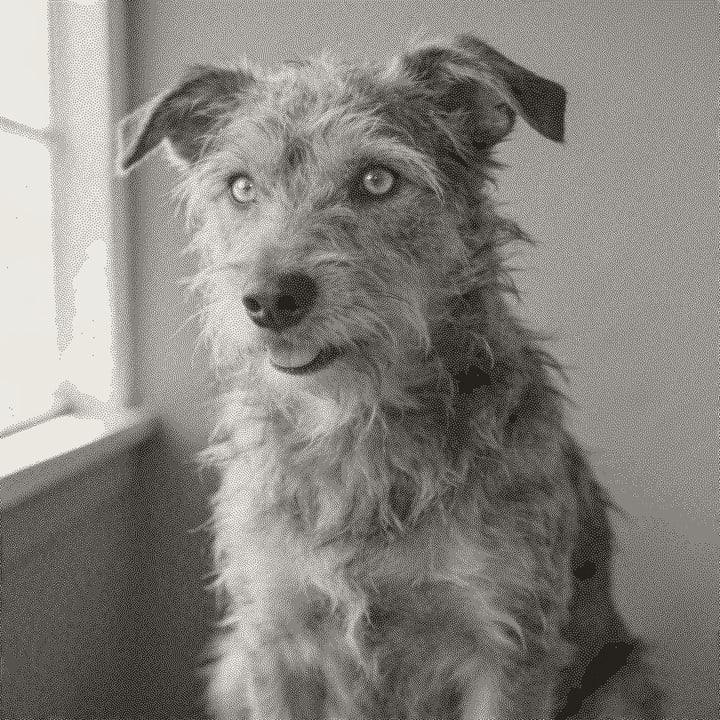 White TileMarks dark, file as is. Coat with toner or marking spray, engrave, wash it off. The marks stay dark.
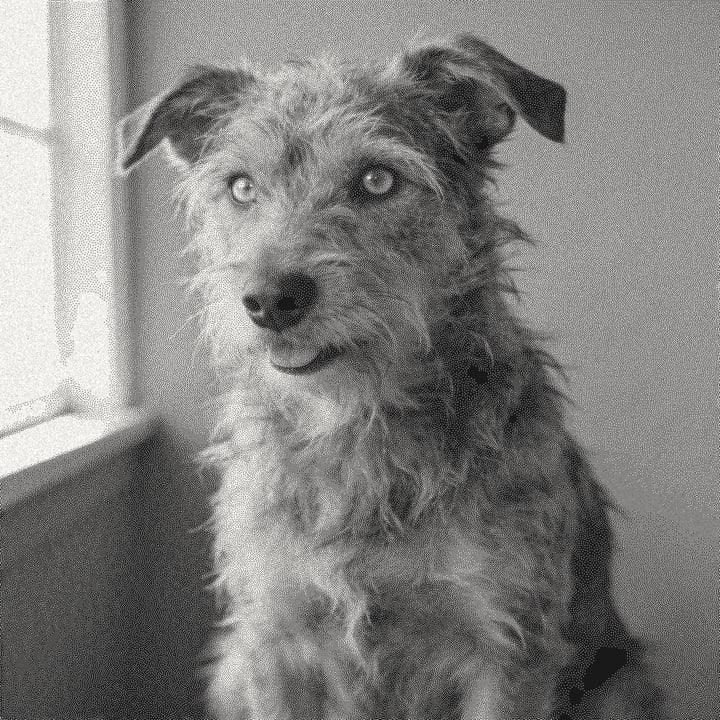 Painted TileMarks light, file inverted. Paint it matte black first. The laser burns the paint off to white glaze, so the file is inverted.
By job
From one photo to a folder of them, and the settings in between.
- Photo to laser engravingTurn a photo into a laser-ready engraving file in seconds. Pick the material, drop the photo, download PNG, BMP or LightBurn. Runs in your browser.
- Image dithering for laserHow dithering turns a photo into laser dots: Floyd and Steinberg, Jarvis, Stucki, Atkinson, Bayer, threshold, grayscale and our Ultra dither, compared.
- Laser DPI calculatorFind the right DPI for your laser from its spot size, see the line gap, and check how many pixels your photo needs. Defaults for diode, CO2, fiber and galvo.
- Remove background for laser engravingCut the subject out of a photo before engraving so the background is never burned, even on slate and glass. Pick the AI model, see the cost first.
- Upscale photos for laser engravingSmall photo, big blank? See how many pixels your engraving needs and upscale 2x or 4x with the AI model you pick, before the photo is dithered.
- Batch prepare photos for laserPrepare a whole folder of photos for the laser with one saved recipe. Sub-folders kept, parallel processing, ZIP or folder output, all in your browser.
- LightBurn-ready filesExport engraving files that open at the right size: a LightBurn .lbrn2 project, PNG with DPI, or 1-bit and 24-bit BMP. Already dithered, so no double dither.
- Laser test cardMake a laser test card in your browser: a DPI line-interval card, a power and speed grid, or a dither strip of your own photo. PNG, BMP, SVG or .lbrn2.
- QR code for laser engravingMake QR codes that still scan after engraving: URL, text, vCard or Wi-Fi, with error correction, quiet zone and slate-safe invert. PNG, SVG, BMP or .lbrn2.
- AI designs for laser engravingDescribe a design and get an engraving-ready image: line art, woodburn sketch, stencil, photoreal or mandala, with your lettering. Then prep it in one click.
- Laser-cut jigsaw puzzleTurn a photo into a laser-cut jigsaw: an engrave layer toned for your material and a cut path where every edge is cut once. PNG, cut SVG or combined SVG.
Try it with your own photo.
Drop a photo on the home page or in Start free, and see the file for your material before you sign up.
Start free
Free account, email link, no card.