Material guide
Laser engraving photos on painted tile
Paint a white tile matte black, and the laser burns the paint away to reveal white glaze. The marks are light, so the file is inverted.
- The laser marks
- Lighter than the surface
- The file
- Inverted by the preset
- Default dither
- Ultra
- Mirror
- Off by default
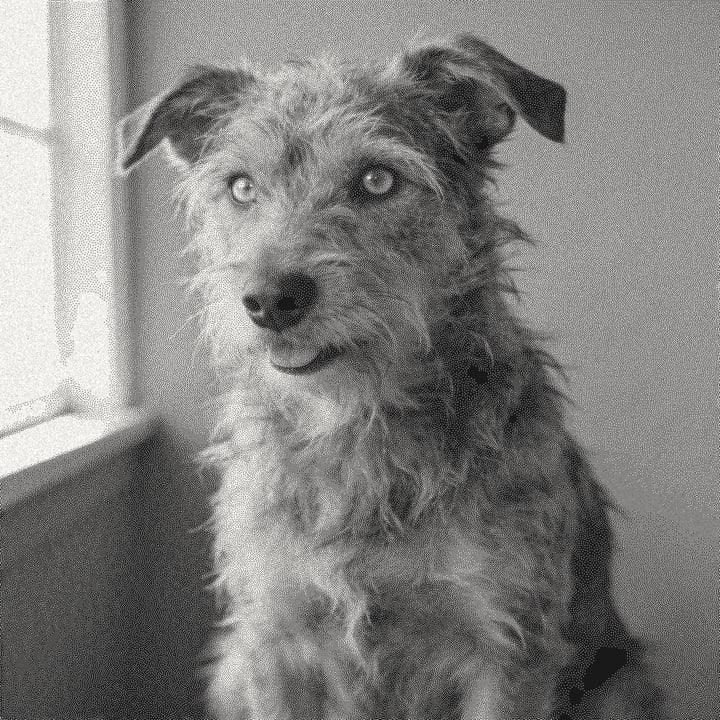
What happens on painted tile
The painted tile method starts from a white glazed tile with a coat of matte black paint. The laser removes the paint where it fires and exposes the white glaze underneath. The result is a bright image on a black ground, much like slate but with a smoother, more even surface.
Because the marks are lighter than the surface, the painted tile preset inverts the file: the light parts of the photo become exposed glaze. The tone recipe stays neutral (no gamma lift or extra contrast) and the dither is Ultra, because black paint on white glaze already gives very strong contrast.
The glaze is flat, so the dots stay crisp and fine detail holds. Most of the variation comes from the paint layer: thick paint needs more power to clear, and gloss paint can melt rather than burn away cleanly.
Recommended DPI by laser type
| Laser | DPI | Notes |
|---|---|---|
| Diode | 254 | Diodes remove black paint well. Start at 254 DPI. |
| CO₂ | 254 | Works well. Try 318 DPI on a smooth tile. |
| CO₂ fine | 318 | The flat glaze holds fine lines. |
| Fiber | 508 | Fiber lasers can remove paint, but results vary. Test first. |
| Galvo / UV | 423 | For small tiles with fine detail. |
The default DPI for your laser type is a good start. If dots merge, the paint clears in patches and detail fills in. The laser DPI calculator explains how DPI matches spot size.
Try it on painted tile
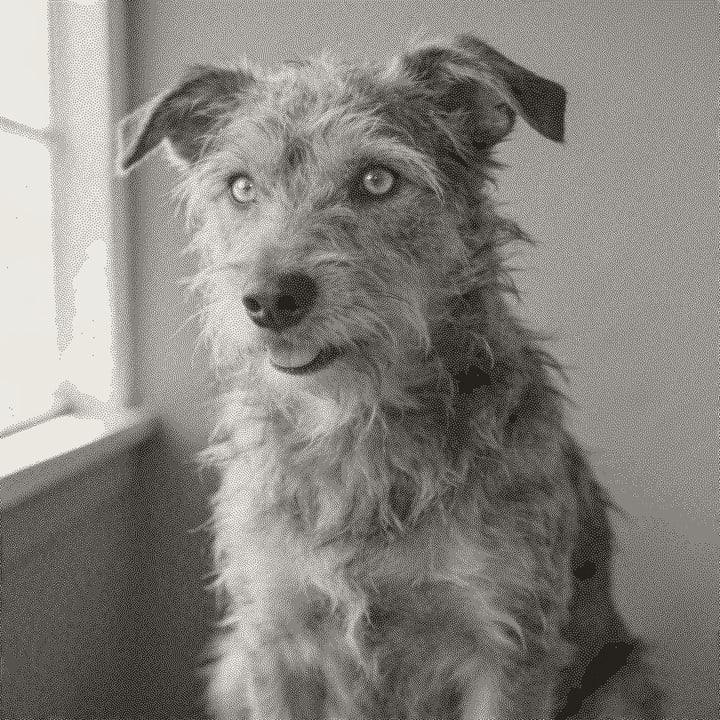
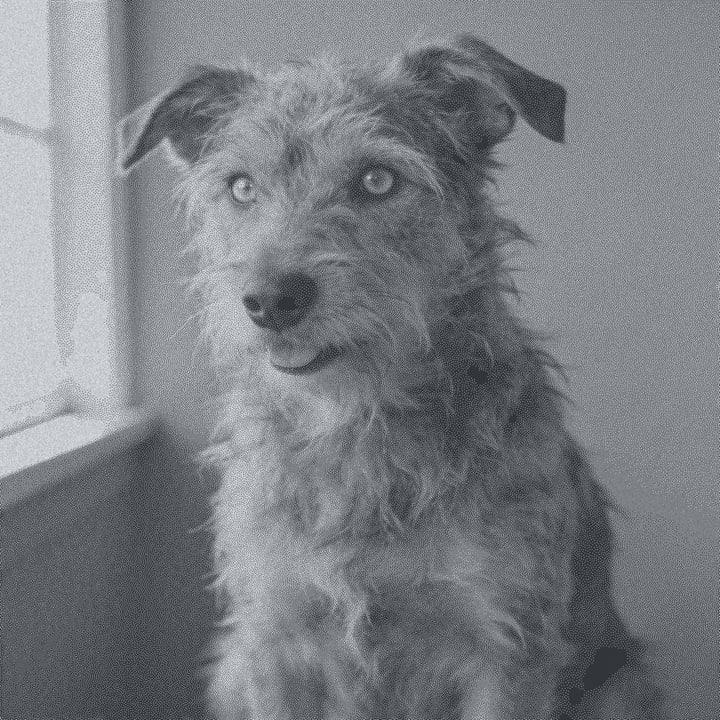
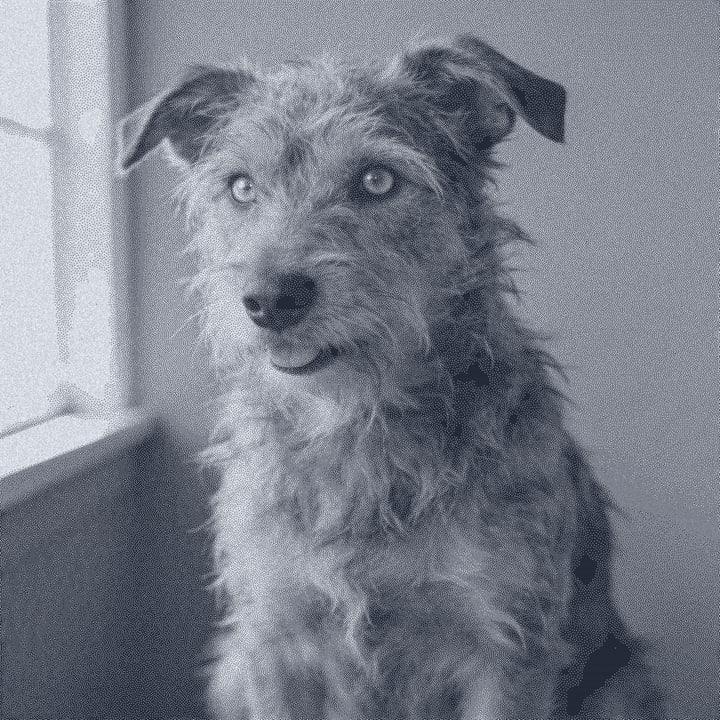
Drop a photo, or use a sample. Our real engine makes a 4 in file at 254 DPI for Painted Tile with the Ultra dither, here in the page. The photo stays on your device.
No photo handy?
Downloading the file needs a free account.
How to prepare a photo for painted tile
Paint the tile
Give a white glazed tile an even coat of matte black paint and let it dry fully.
Pick Painted Tile
The preset inverts the file so the laser exposes the light parts of the photo.
Crop to the tile
Square or hexagon crops match common tiles.
Set size and laser
Enter the tile size and pick your laser type.
Preview
The On material tab shows white marks on black. Faces should read as a positive.
Export
PNG, BMP or a .lbrn2 project for LightBurn. Leave invert off in your laser software.
Prep tips
- Use matte black paint. Gloss paint can melt and smear instead of burning away.
- Spray thin, even coats. Thick paint needs more power and clears unevenly.
- Let the paint cure fully before engraving.
- After engraving, wipe off the residue with a damp cloth.
- A clear coat afterwards protects the paint, but test it on a spare tile.
- Portraits with a light face on a dark background read best once inverted.
- Burning paint smells. Work with ventilation.
Common mistakes
- Using the white tile preset
- White tile is for the toner method and is not inverted. A painted tile needs the inverted painted tile preset.
- Inverting twice
- The file is already inverted. Turn off any invert option in your laser software.
- Glossy paint
- Gloss paint tends to melt. Matte paint burns off more cleanly.
- Thick paint
- A heavy coat needs more power, and dense areas can stay partly painted.
Questions
About engraving photos on painted tile. More in the guides.
- Why is the photo inverted for painted tile?
- The laser removes the black paint and shows white glaze, so the light parts of the photo need to be engraved. The preset inverts the file.
- What paint should I use?
- A matte black paint in thin, even coats. Gloss paint tends to melt.
- How is this different from white tile?
- White tile uses toner and gives dark marks, so it is not inverted. Painted tile gives light marks and is inverted.
- Is painted tile like slate?
- It looks similar: light marks on a dark ground. The glaze is smoother than slate, so fine detail can hold better.
- What DPI should I use?
- 254 DPI for diode and CO2, 318 for a fine CO2 setup.
Keep going
Make your painted tile file.
Sign up free to download the file you made here, then use One Click, Easy Mode and Batch in the app.
Free account, email link, no card.