Material guide
Laser engraving photos on wood
Wood burns dark where the laser fires, so the file goes to the laser as is, without inverting. The hard part is keeping faces from going muddy, and that is what the wood preset is tuned for.
- The laser marks
- Darker than the surface
- The file
- Not inverted
- Default dither
- Ultra
- Mirror
- Off by default
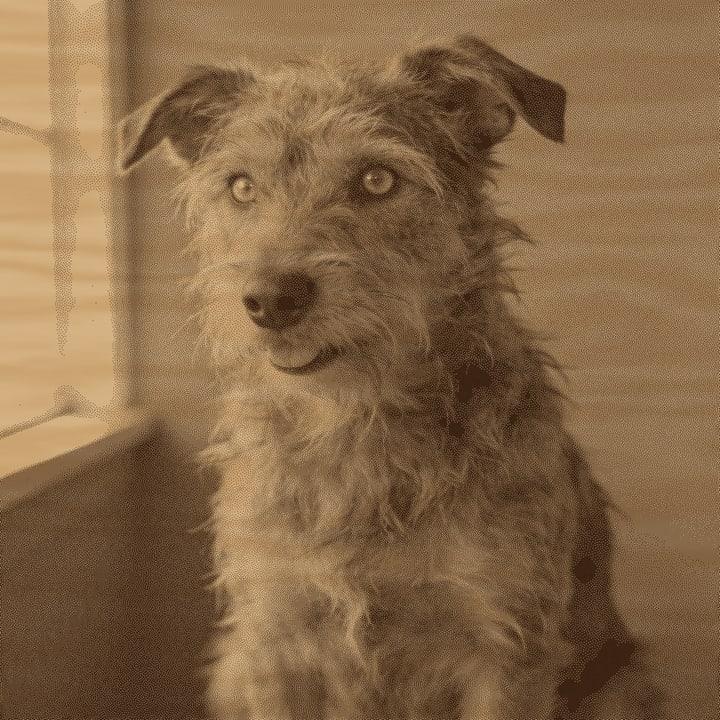
What happens on wood
On wood the laser chars the surface. Every dot the file says to burn turns brown to near black, and every dot it leaves alone keeps the colour of the board. That matches a normal photo: dark areas get more burned dots, light areas get fewer. So the wood preset does not invert the image.
Wood darkens a lot, and it darkens more than the dot pattern suggests, because the burn spreads a little into the fibres around each dot. A photo that looks balanced on screen often engraves heavy, with shadows that merge into one dark patch. The wood preset counters this by lifting the midtones (a gamma of 1.08), adding a small amount of contrast and a light sharpen, then dithering with Ultra.
Grain matters too. Light, even woods such as maple, birch and alder give the most contrast because the burned dots sit on a pale, quiet background. Darker or strongly figured woods hide detail in the grain lines. Plywood can have glue layers and voids under a thin face veneer, so test on an offcut of the same sheet first.
Recommended DPI by laser type
| Laser | DPI | Notes |
|---|---|---|
| Diode | 254 | A safe start for most 5 to 20 W diodes. Their spot is about 0.08 to 0.1 mm, so 254 DPI lines just touch. |
| CO₂ | 254 | Standard 2 in lens. Try 318 DPI if your test card shows clean, separate lines. |
| CO₂ fine | 318 | A 1.5 in lens or a well-tuned machine can hold finer lines on hardwood. |
| Fiber | 508 | Fiber lasers are made for metal. On wood they can mark, but results vary a lot, so test first. |
| Galvo / UV | 423 | For small, detailed pieces such as keychains. Check that the wood does not scorch between passes. |
Higher is not better on wood. When lines overlap, the char spreads and the photo turns muddy and slow to engrave. If you are unsure, start at 254 DPI and use the laser DPI calculator to match your spot size.
Try it on wood
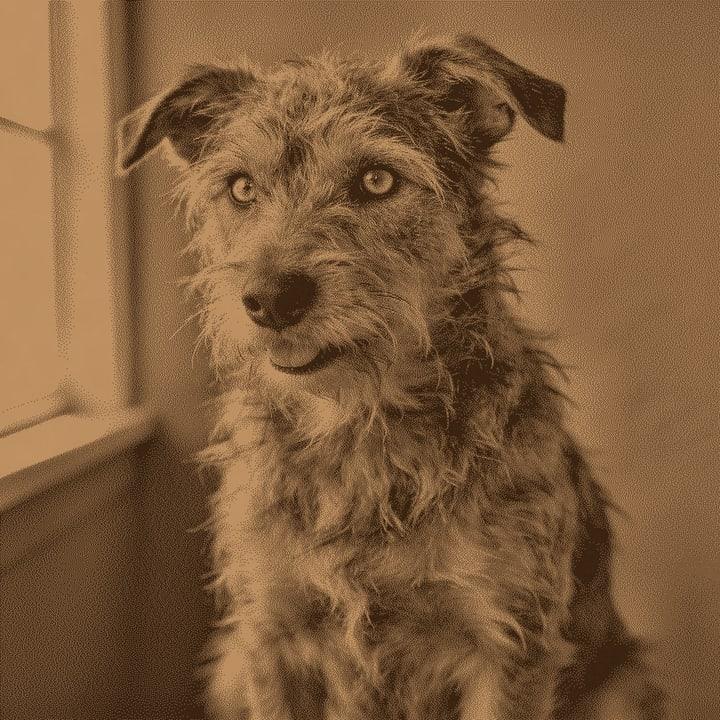
Drop a photo, or use a sample. Our real engine makes a 4 in file at 254 DPI for Wood with the Ultra dither, here in the page. The photo stays on your device.
No photo handy?
Downloading the file needs a free account.
How to prepare a photo for wood
Drop your photo
JPG, PNG or WebP. It is processed in your browser and does not leave the device.
Pick Wood
The preset leaves the file uninverted, lifts the midtones and sets the Ultra dither.
Set the size and your laser
Choose a blank size such as a 4 in coaster or an 8 x 10 plaque, then your laser type so the DPI matches your spot.
Check the result
Open the On material tab to see the dots on a wood-coloured surface, and press L for the loupe to inspect faces and fur.
Fine-tune if needed
On dark woods try the Bright & airy look. For pets and textures, Max detail adds sharpening.
Export
Download a PNG with the DPI embedded, a 1-bit or 24-bit BMP, or a .lbrn2 project for LightBurn at the right physical size.
Prep tips
- Sand the board smooth and wipe off the dust. Raised fibres catch the beam unevenly.
- Masking tape on the surface reduces smoke staining around the engraving. Peel it after the job.
- Engrave a small test grid of speed and power on an offcut of the same board before the real piece.
- Pick photos with a clear subject and good light on the face. Flat, dim photos stay flat on wood.
- Crop tight. A face that fills the blank keeps more detail than a small face in a busy scene.
- If the background is busy, remove the background so the laser only burns the subject.
- A light coat of finish after engraving protects the burn, but test it on scrap: some finishes darken the whole board.
- Work with ventilation and never leave the laser running unattended. Wood smoke and resin build up fast.
Common mistakes
- Engraving the photo as it is
- A straight greyscale photo burns too dark on wood. Let the preset lift the midtones, then judge on the On material preview, not the original photo.
- Turning the DPI up for more detail
- Overlapping lines char into each other. Faces get blotchy and the job takes longer. Match DPI to your spot size instead.
- Dithering twice
- If you import an already dithered file into your laser software, set its image mode to threshold or pass-through. A second dither on top of ours breaks up the dot pattern.
- Testing on a different wood
- Two species, or two sheets of the same plywood, can burn very differently. Test on an offcut of the actual board.
Questions
About engraving photos on wood. More in the guides.
- Do I need to invert a photo for wood?
- No. Wood marks dark, so dark parts of the photo should burn. The wood preset leaves the file uninverted.
- Which wood gives the best photo engravings?
- Light, even-grained woods such as maple, birch and alder give the most contrast. Dark or heavily figured woods hide detail in the grain.
- What DPI should I use on wood?
- Start at 254 DPI for diode and standard CO2 lasers, 318 DPI for a fine CO2 setup. The DPI calculator works it out from your spot size.
- Which dither works best on wood?
- The wood preset uses Ultra, our optimized dot placement. You can compare all 13 dithers in Easy Mode, and read how they differ in image dithering for laser.
- Why does my engraving come out too dark?
- Wood darkens more than the dot pattern suggests. Use the wood preset, try the Bright & airy look, and check your power on a test grid.
- Does my photo get uploaded?
- No. One Click, Easy Mode and Batch run in your browser. Only optional AI steps, such as background removal, send the photo to the AI provider you pick.
Keep going
Make your wood file.
Sign up free to download the file you made here, then use One Click, Easy Mode and Batch in the app.
Free account, email link, no card.