One Click
Turn a photo into a laser engraving file
One Click takes a normal photo and makes the file your laser needs: sized, toned for the material, inverted when the material marks light, and dithered into burn or no-burn dots.
Try it with your photo
Our real engine, here in the page: pick a material, drop a photo or use a sample, and watch the file appear. It makes a 4 in file at 254 DPI with the Ultra dither. The photo stays on your device.
No photo handy?
Downloading the file needs a free account.
What it does
A laser does one thing at each spot: it burns or it does not. A photo has 256 shades of grey. Getting from one to the other is the whole job, and doing it badly is why so many first engravings come out muddy, flat or too dark.
One Click does the steps for you in the right order. It converts the photo to greyscale, applies the tone recipe of the material you picked, resizes it to the physical size and DPI of your blank, inverts it when the material marks lighter than the surface, and dithers it into a pattern of dots. The result is a file at the exact pixel size your laser expects, with the DPI written into it.
Why the material matters
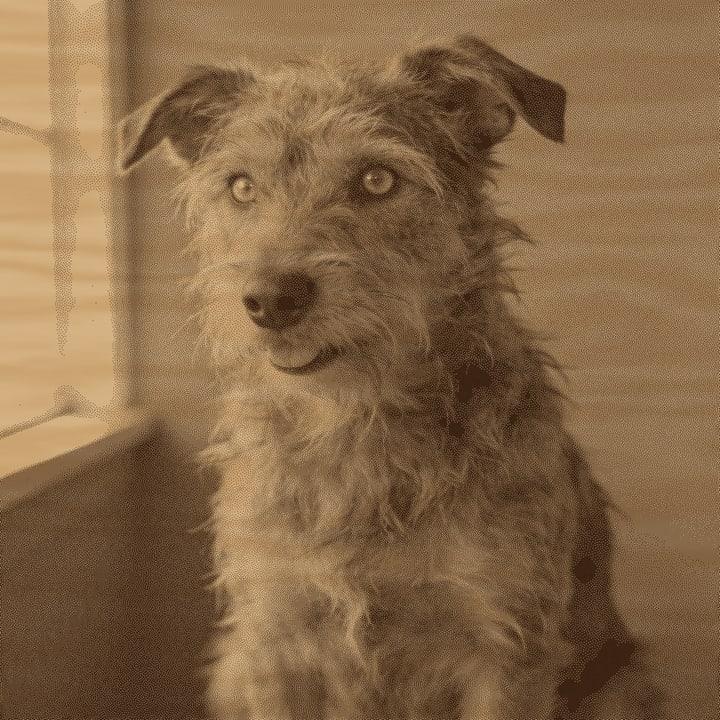
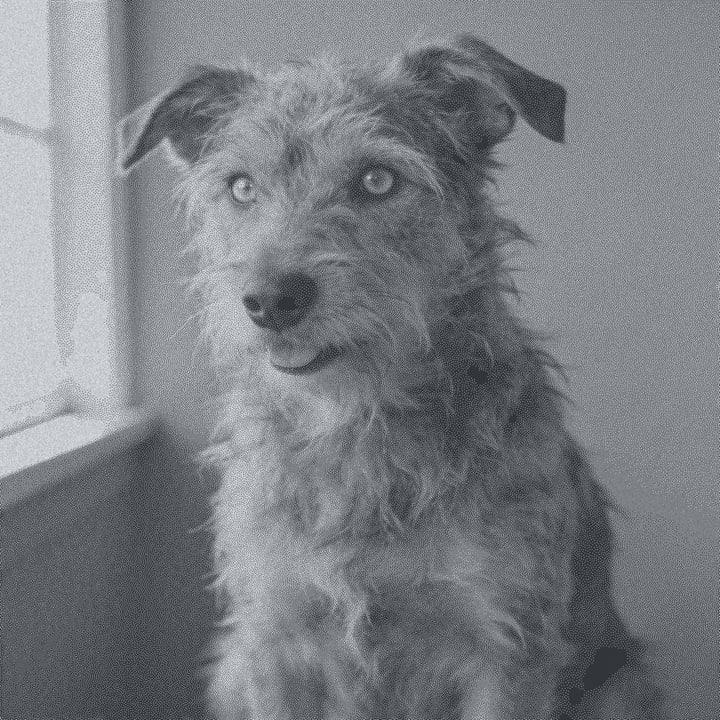
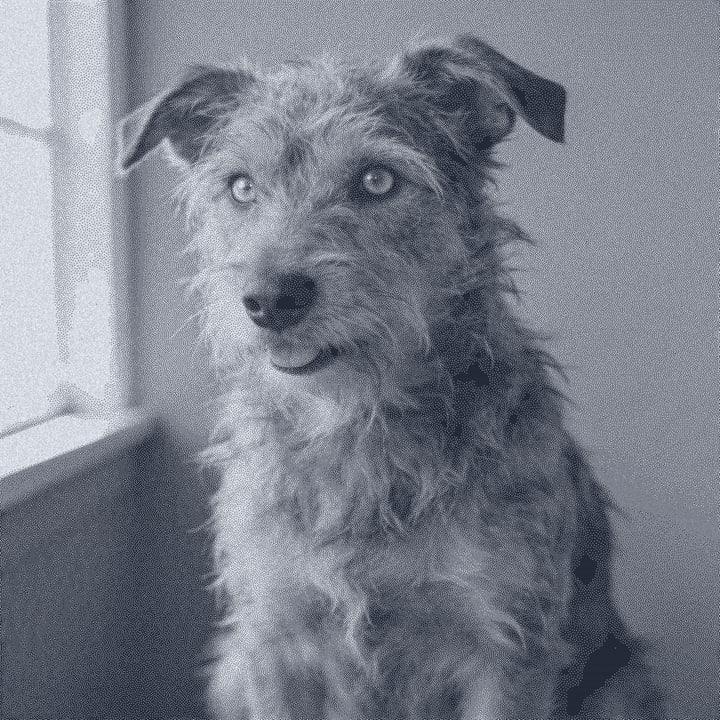
The same photo needs different files on different surfaces. Wood darkens a lot, so the wood preset lifts the midtones so faces do not go muddy. On black slate the laser makes a light mark, so the file is inverted: what was dark in the photo must stay unburned. Clear acrylic and glass are usually engraved from the back, so Mirror is on by default for them.
There are ten material presets: wood, black slate, clear acrylic, leather, cork, glass, anodized aluminum, stainless steel, white tile and painted tile. Each one sets tone, sharpening, inversion and the default dither. If your material is not on the list, pick the closest one and fine-tune it in Easy Mode.
What you can change afterwards
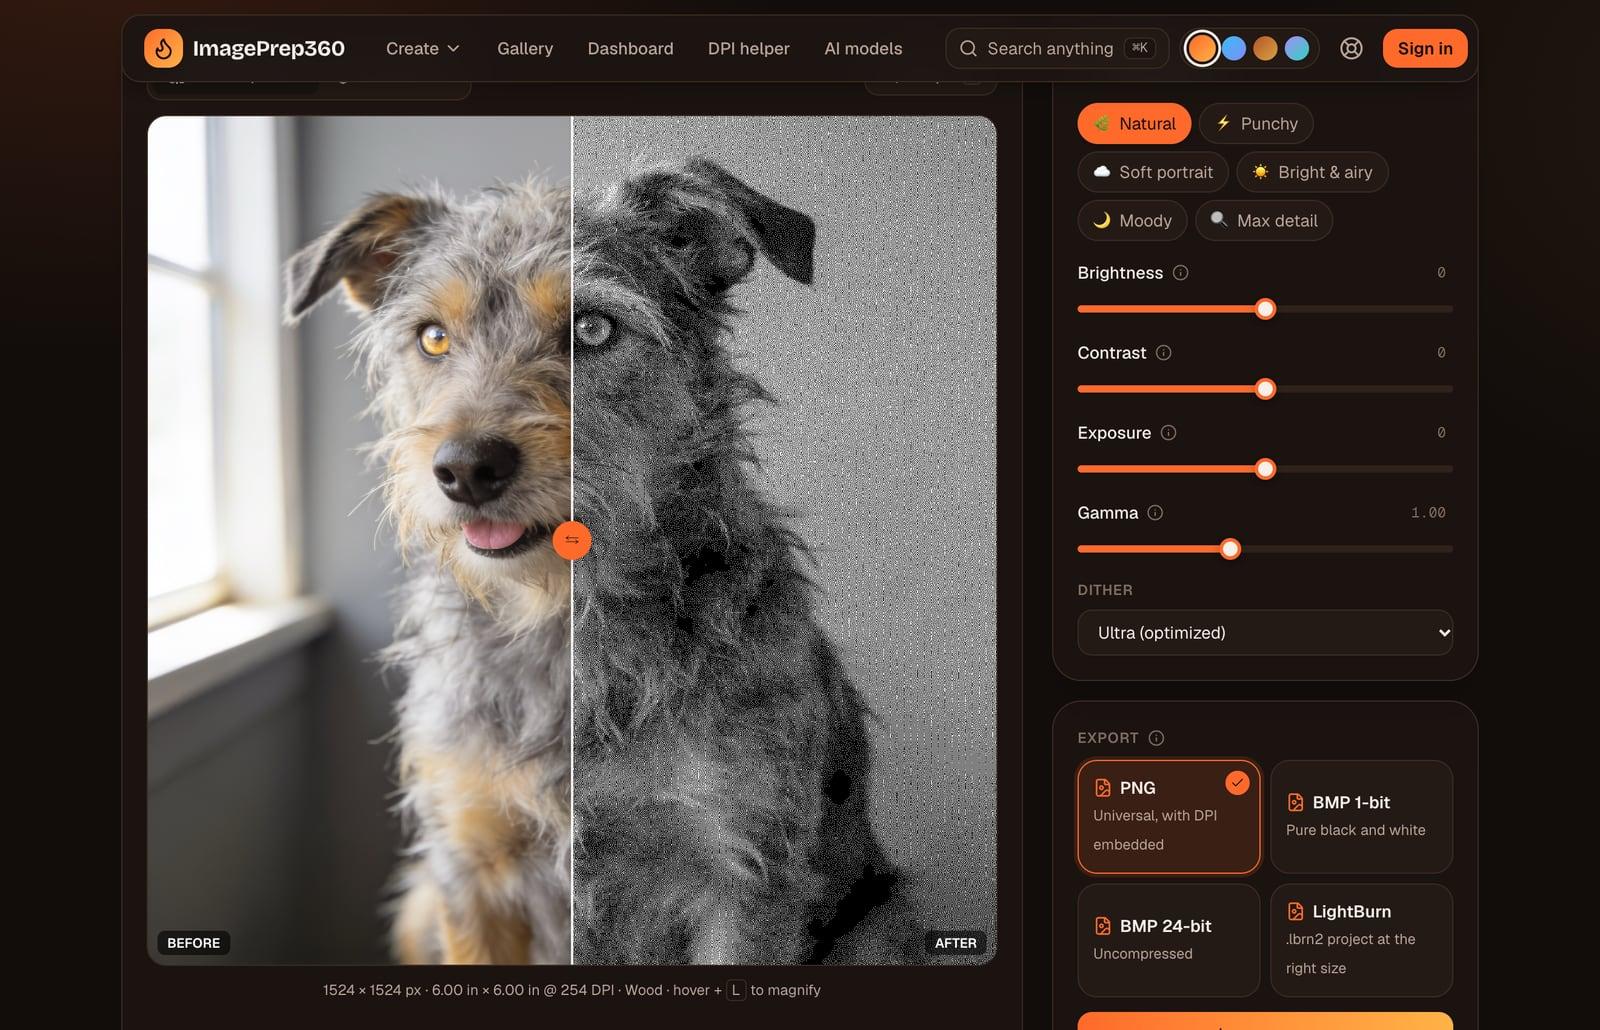
One Click is meant to be right the first time, but you are not locked in. The result screen has a before and after slider, an On material tab that previews the dots on the surface colour, and a magnifier: hover the result and press L to see every dot. Looks such as Punchy, Soft portrait, Bright and airy, Moody and Max detail are one-tap starting points, and the sliders adjust on top of them.
For cropping to a round coaster, straightening a tilted photo or picking a heart or hexagon shape, open the same photo in Easy Mode. It has a crop step with rotate, flip, straighten up to 45 degrees and crop shapes: circle, oval, heart, star, hexagon, rounded and a custom mask.
Privacy
One Click runs in your browser. The photo is decoded and processed on your device and is not uploaded. Only the optional AI tools send a photo out, to the AI provider of the model you pick, and the app tells you before that happens.
Step by step
Drop a photo
Open One Click and drop a JPG, PNG or WebP, or choose one from your computer. A sharp, well-lit photo with the subject filling the frame works best.
Pick the material
Choose what you are engraving on. The preset sets tone, inversion, mirroring and the dither for that surface.
Set the size and laser
Pick a common blank or type the width and height, then choose your laser type. It sets a starting DPI that you can change.
Prepare
Press Prepare. A quick preview appears first, then the full-quality result with the Ultra dither.
Check the dots
Use the before and after slider, the On material tab and the magnifier to check faces, edges and dark areas.
Download
Download a PNG with the DPI embedded, a 1-bit or 24-bit BMP, or a LightBurn .lbrn2 project at the right physical size.
Questions
Short, specific answers. Every material and tool is in the guides.
- What kind of photo works best?
- A sharp photo with good, even light and the subject filling most of the frame. Very dark or very small photos lose detail. If yours is small, see upscaling photos for laser engraving.
- Do I need to edit the photo first?
- No. One Click applies the material's tone recipe for you. If you want a different crop or shape, use Easy Mode, which has the same presets plus a crop step and sliders.
- Which file should I download?
- Most laser software opens PNG. Use a 1-bit BMP if your software prefers pure black and white, or the .lbrn2 project to open the image in LightBurn at the right size. More on export formats.
- Is my photo uploaded?
- No. One Click runs in your browser and the photo stays on your device. Only AI tools, which you choose to run, send the photo to the AI provider of the model you pick.
- Can I try it before signing up?
- Yes. The bench on this page runs the same engine on your own photo. Downloading the file needs a free account: Start free.
- Why does my slate file look like a negative?
- Because the laser makes slate lighter, the file is inverted so the right parts stay dark. That is expected. See laser engraving on slate.
Keep going
Start with your own photo.
One Click, Easy Mode and Batch run in your browser. Sign up free with an email link, no card.
Free account, email link, no card.