Material guide
Laser engraving photos on leather
Leather darkens where the laser touches it, so the file goes as is, without inverting. Start by checking what kind of leather you have: it decides both safety and the result.
- The laser marks
- Darker than the surface
- The file
- Not inverted
- Default dither
- Ultra
- Mirror
- Off by default
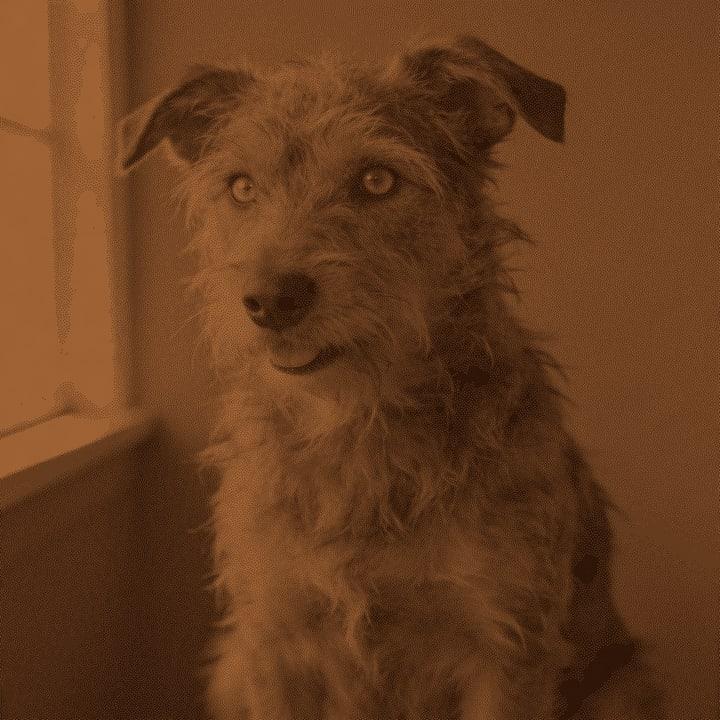
What happens on leather
On leather the laser browns and darkens the surface. Burned dots are darker than the hide, so a normal photo maps straight onto it and the leather preset does not invert the file. Like wood, leather darkens more than the dot pattern suggests, so the preset lifts the midtones (a gamma of 1.1), adds a small amount of contrast and a light sharpen, then dithers with Ultra.
The type of leather matters most. Vegetable-tanned leather engraves cleanly and evenly, with a warm brown mark. Chrome-tanned leather and faux leather can release harmful fumes when lasered, and many faux leathers are PVC, which must never be lasered. If you do not know what you have, do not engrave it.
The surface finish changes the mark. Smooth, undyed veg-tan gives the most detail. Dyed or coated leather may mark unevenly or change colour, and suede or rough-out hides lose fine detail in the nap.
Recommended DPI by laser type
| Laser | DPI | Notes |
|---|---|---|
| Diode | 254 | Diodes engrave veg-tan leather well. Start at 254 DPI. |
| CO₂ | 254 | Standard 2 in lens. Leather marks with little power, so test low first. |
| CO₂ fine | 318 | A 1.5 in lens can hold finer detail on smooth, undyed leather. |
| Fiber | 508 | Fiber lasers are made for metal. They can mark some leathers, but test first. |
| Galvo / UV | 423 | For small pieces such as tags and wallets. Check for scorching. |
Leather scorches easily, and overlapping lines burn into a dark smudge. Keep near your laser's default DPI and lower the power before you raise the DPI. The DPI calculator gives a starting point from your spot size.
Try it on leather
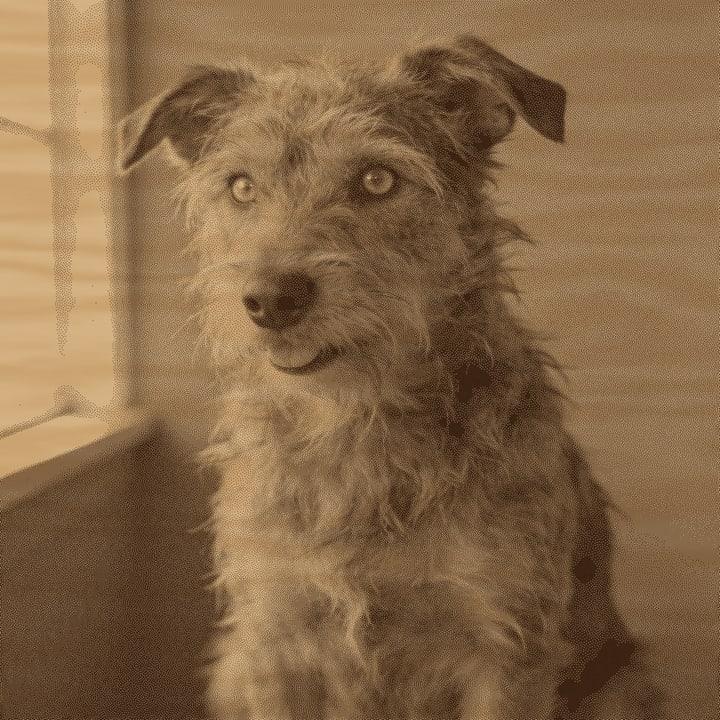
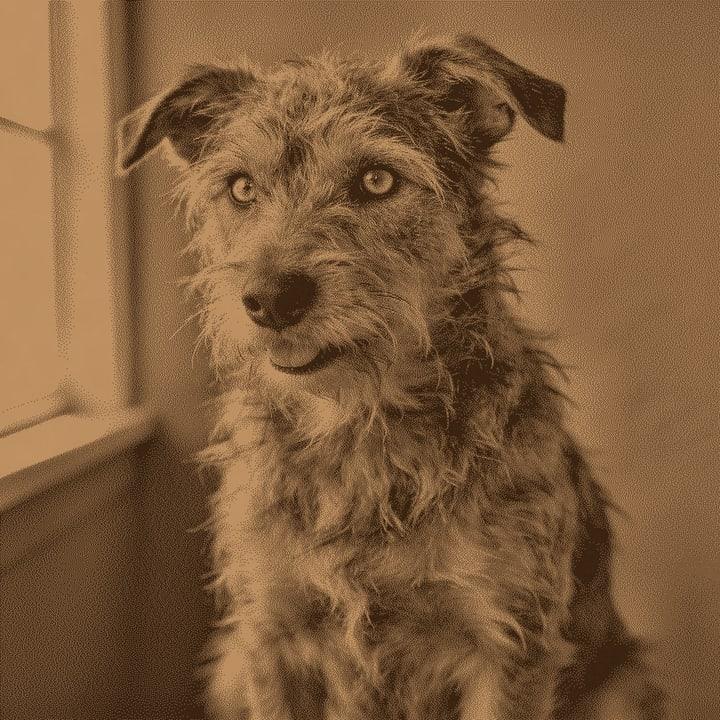
Drop a photo, or use a sample. Our real engine makes a 4 in file at 254 DPI for Leather with the Ultra dither, here in the page. The photo stays on your device.
No photo handy?
Downloading the file needs a free account.
How to prepare a photo for leather
Drop your photo
It is prepared in your browser and is not uploaded.
Pick Leather
The preset keeps the file uninverted, lifts the midtones and uses Ultra.
Crop to the piece
For patches and tags try the rounded or oval crop shapes, or a custom mask for an odd outline.
Set the size and laser
Enter the size of the area you will engrave and pick your laser type.
Check and tune
Look at the On material tab. If faces look heavy, try the Soft portrait or Bright & airy looks.
Export
Download a PNG, BMP or .lbrn2 project for LightBurn, sized to the piece.
Prep tips
- Use vegetable-tanned leather. Check with your supplier if you are not sure.
- Never laser chrome-tanned, faux or PVC leather. They can release harmful fumes.
- Work with good ventilation. Even veg-tan leather smells strongly when lasered.
- Lightly dampen veg-tan before engraving if your tests show it scorches less that way.
- Hold the leather flat with magnets or tape. A curled edge moves out of focus.
- Test on an offcut of the same hide. Colour and thickness vary between hides.
- Simple subjects with good light on the face read better than busy, dim scenes.
Common mistakes
- Lasering unknown leather
- Chrome-tanned and faux leathers can release harmful fumes. Only engrave leather you know is vegetable-tanned.
- Too much power
- Leather marks easily. High power scorches it and fills in detail. Start low on a test grid.
- Inverting the file
- Leather marks dark, so the photo should not be inverted. The preset leaves it as is.
- Engraving suede for detail
- The nap of suede or rough-out leather hides fine detail. Use the smooth side for photos.
Questions
About engraving photos on leather. More in the guides.
- Is it safe to laser engrave leather?
- Vegetable-tanned leather is the usual choice. Chrome-tanned and faux leathers can release harmful fumes, and PVC-based faux leather must never be lasered. Always ventilate.
- Do I invert a photo for leather?
- No. Leather marks dark, so the leather preset sends the photo as is.
- What DPI should I use on leather?
- Start at 254 DPI on diode and CO2 lasers. The DPI calculator works it out from your spot size.
- Can I engrave a pet photo on a leather tag?
- Yes. Crop with a rounded or oval shape, try the Max detail look for fur, and check the dots with the loupe before you export.
- Why does my leather engraving look blotchy?
- Usually too much power or too high a DPI, so lines overlap and scorch. Lower the power, keep the DPI near your default, and test on an offcut.
Keep going
Make your leather file.
Sign up free to download the file you made here, then use One Click, Easy Mode and Batch in the app.
Free account, email link, no card.