Material guide
Laser engraving photos on glass
Glass frosts rather than burns, so the file is inverted, and it is often mirrored to engrave from the back. Use a lower DPI than usual to limit chipping.
- The laser marks
- Lighter than the surface
- The file
- Inverted by the preset
- Default dither
- Ultra
- Mirror
- On by default
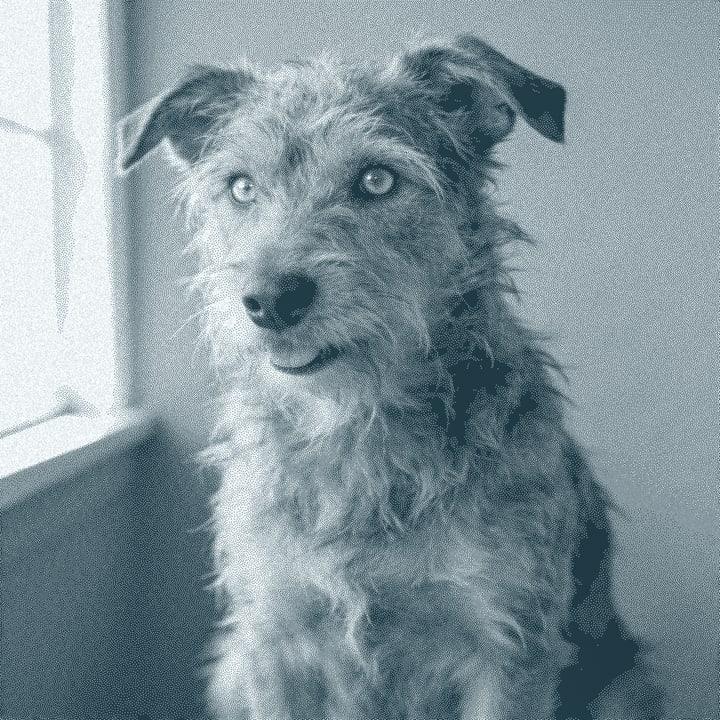
What happens on glass
A laser does not burn glass. It heats the surface until tiny flakes break away, leaving a white frosted mark. That mark is lighter than the glass, so the glass preset inverts the file: the light parts of the photo become frosted dots.
Each dot is a small fracture, and fractures that touch can chip off in larger flakes. That is why glass needs a lower DPI than most materials, about 200 to 250, so the dots sit apart. A thin film of wet paper or dish soap on the surface spreads the heat and reduces chipping. The preset adds a little contrast and pulls in the black and white points (4 and 252) to keep the frost even.
Flat glass such as photo blocks and coasters is often engraved on the back so the image reads through the glass. The Mirror toggle is on by default for glass for that reason. Turn it off for drinkware and anything you engrave on the outside face.
Recommended DPI by laser type
| Laser | DPI | Notes |
|---|---|---|
| Diode | Not recommended | Most diode wavelengths pass through clear glass. Some people engrave coated or painted glass with a diode; plain clear glass is a CO2 job. |
| CO₂ | 200 to 250 | The usual tool for glass. Lower than the 254 default to keep dots from chipping into each other. |
| CO₂ fine | 200 to 250 | A finer lens does not mean a higher DPI here. Chipping is the limit, not the spot. |
| Fiber | Not recommended | Fiber lasers are made for metal and generally do not mark clear glass well. |
| Galvo / UV | 200 to 250 | UV galvo machines can mark glass with fine detail. Check what your machine supports and test first. |
On glass, chipping sets the limit. Change the DPI in the app's settings after picking your laser, and engrave a test patch on a spare piece. The DPI calculator explains how DPI and line gap relate.
Try it on glass
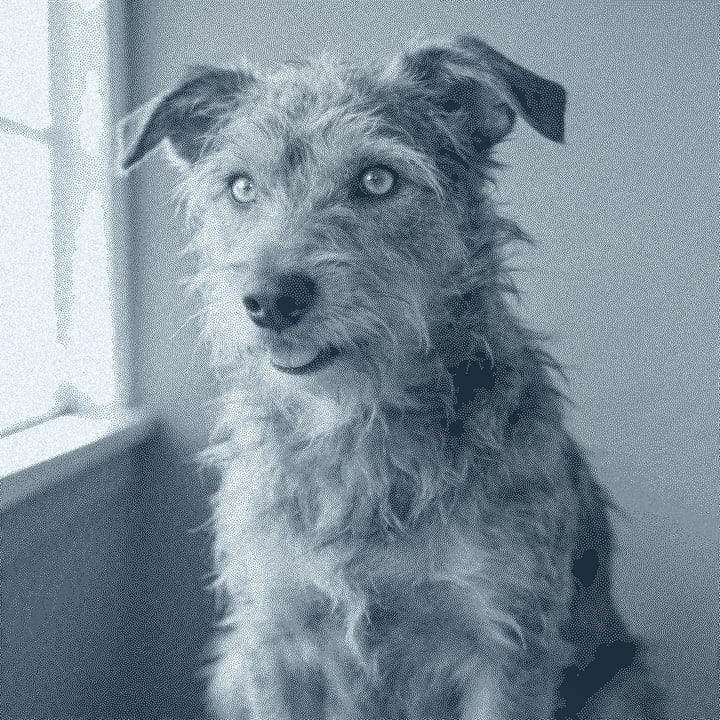
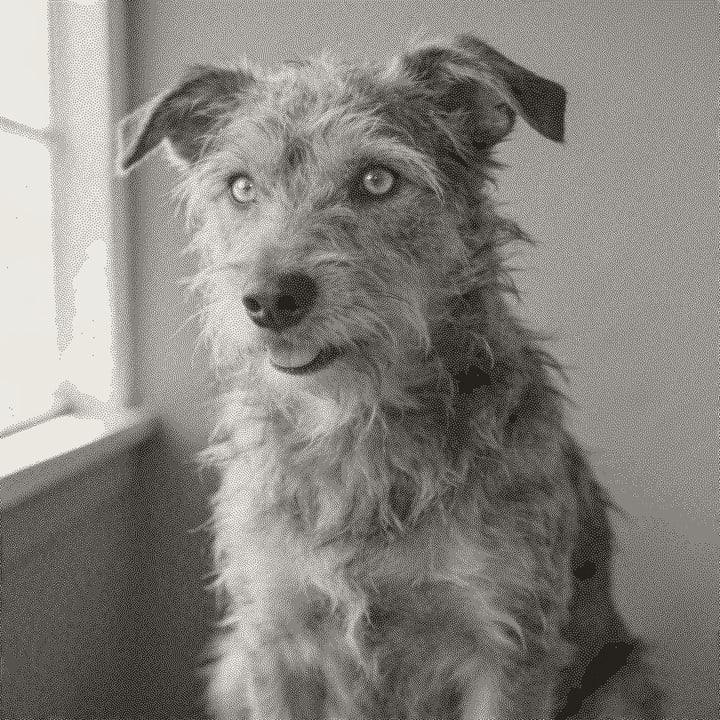
Drop a photo, or use a sample. Our real engine makes a 4 in file at 254 DPI for Glass with the Ultra dither, here in the page. The photo stays on your device.
No photo handy?
Downloading the file needs a free account.
How to prepare a photo for glass
Drop your photo
It is processed in your browser and not uploaded.
Pick Glass
The preset inverts the file, turns Mirror on and uses the Ultra dither.
Set front or back
Keep Mirror on for back-engraved blocks. Turn it off for glasses and outside faces.
Set size, laser and DPI
Enter the size, pick your laser, then set the DPI to 200 to 250.
Check the preview
Look at the On material tab and use the loupe to check that the dots are not crowded.
Export
PNG, 1-bit BMP or a .lbrn2 project for LightBurn at the right size.
Prep tips
- Lay a thin film of wet paper or dish soap on the glass before engraving to reduce chipping.
- Clean the glass first. Fingerprints and dust change how it frosts.
- Use a lower DPI than on wood or slate: 200 to 250.
- Photos with a light subject on a dark background work well, because the subject becomes the frost.
- For tumblers and wine glasses you need a rotary attachment in your laser setup. The file itself is the same.
- Test on a spare piece of the same glass. Different glass types frost differently.
- Let the glass cool before handling and wipe off the flakes with a damp cloth.
Common mistakes
- Using the same DPI as wood
- At 254 DPI or more, the dots on glass can chip into each other and leave rough patches. Drop to 200 to 250.
- Forgetting the mirror
- A back-engraved photo block reads backwards if the file is not mirrored. The preset turns Mirror on.
- Mirroring drinkware
- On the outside of a glass, a mirrored file reads backwards. Turn Mirror off.
- Engraving dry
- Without a wet film the heat concentrates and the glass chips more. Wet paper or dish soap helps.
Questions
About engraving photos on glass. More in the guides.
- Why is the photo inverted for glass?
- The laser frosts glass white, so the light parts of the photo need to be engraved. The glass preset inverts the file for you.
- What DPI should I use for glass?
- About 200 to 250 DPI. Lower than usual, so the frosted dots do not chip into each other.
- How do I stop glass chipping?
- Lower the DPI, lay a film of wet paper or dish soap on the surface, and test on a spare piece.
- Should I mirror the image for glass?
- Yes for back-engraved blocks and plaques, so the photo reads from the front. No for the outside of drinkware. Mirror is on by default for glass.
- Is glass the same as clear acrylic?
- Both frost white and are often mirrored, but clear acrylic does not chip and can take a normal DPI.
Keep going
Make your glass file.
Sign up free to download the file you made here, then use One Click, Easy Mode and Batch in the app.
Free account, email link, no card.