Material guide
Laser engraving photos on cork
Cork marks dark and is forgiving to burn, but its grain hides fine detail. The cork preset pushes contrast so a photo still reads through the texture.
- The laser marks
- Darker than the surface
- The file
- Not inverted
- Default dither
- Stucki
- Mirror
- Off by default
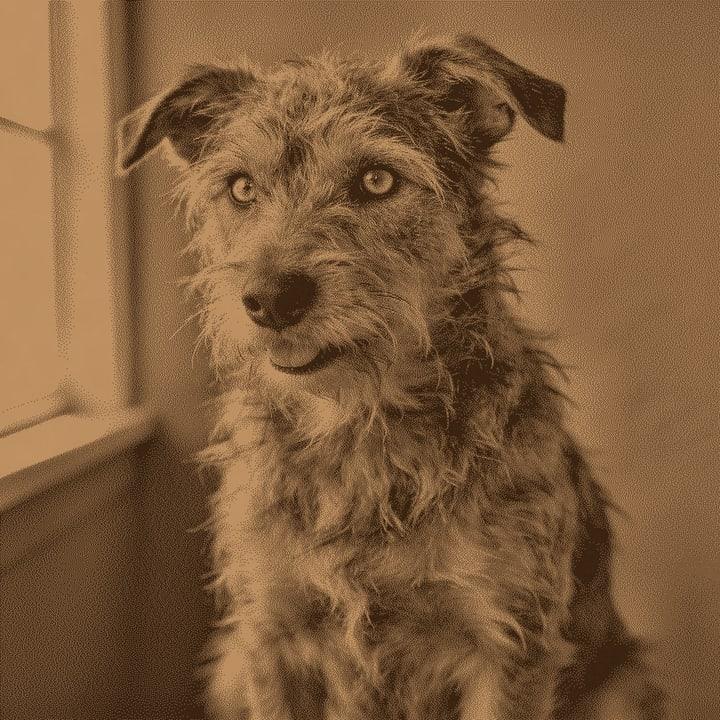
What happens on cork
Cork darkens where the laser hits it, so the file goes as is, without inverting. The catch is the surface: cork is made of granules with gaps and colour changes between them. Fine detail such as single hairs or small text gets lost in that texture.
That is why the cork preset is the most aggressive of the ten. It turns on local contrast (CLAHE at 1.3), adds contrast, lifts the midtones with a gamma of 1.1 and sets the black point at 6 and the white point at 250, so the darkest and lightest parts of the photo are clipped to solid. The app's cork preset dithers with Stucki, which gives very smooth gradients that sit well in the grain. The try bench on this page uses Ultra for every material, so you can compare both in Easy Mode.
Cork also burns quickly and can char at the edges of dense areas. Fine-grained cork sheet holds more detail than coarse agglomerated cork, so pick the finest grain you can find for photos.
Recommended DPI by laser type
| Laser | DPI | Notes |
|---|---|---|
| Diode | 254 | Diodes engrave cork easily. Start at 254 DPI; higher adds little on a textured surface. |
| CO₂ | 254 | Standard 2 in lens. Cork marks fast, so test low power first. |
| CO₂ fine | 254 to 318 | Finer lines help only on fine-grained cork. On coarse cork, 254 is enough. |
| Fiber | 508 | Fiber lasers are made for metal. They can mark cork, but test before a real piece. |
| Galvo / UV | 423 | Fine for small items. The grain still limits how much detail shows. |
On cork the grain, not the laser, sets the detail limit. A high DPI makes the job slower without showing more. Use the default for your laser type and spend the effort on a bold, high-contrast photo instead. The DPI calculator gives the default for your spot size.
Try it on cork
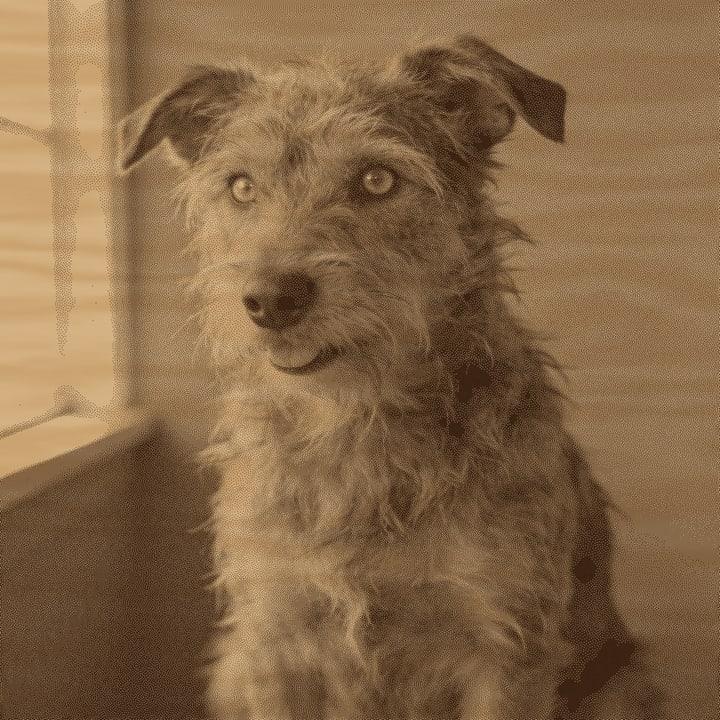
Drop a photo, or use a sample. Our real engine makes a 4 in file at 254 DPI for Cork with the Ultra dither, here in the page. The photo stays on your device.
No photo handy?
Downloading the file needs a free account.
How to prepare a photo for cork
Choose a bold photo
A simple subject with strong light and a plain background reads best on cork.
Pick Cork
The preset raises local contrast, clips the extremes and dithers with Stucki.
Crop to the coaster
Use the circle crop for round coasters, or rounded for square ones.
Set the size and laser
Enter the coaster size and pick your laser type.
Compare on material
Check the On material tab. Try the Punchy look if the subject still looks flat.
Export
PNG, BMP or a .lbrn2 project for LightBurn at the coaster's real size.
Prep tips
- Pick photos with a clear subject and few small details. Faces close up, pets, silhouettes.
- Remove a busy background so the grain is not competing with clutter. See background removal.
- Use fine-grained cork for photos. Coarse cork suits text and simple shapes better.
- Hold thin cork flat. It curls with heat and moves out of focus.
- Cork chars easily. Work with ventilation and keep an eye on the job.
- If you make sets of coasters, save the settings as a recipe and run the whole set in Batch.
Common mistakes
- Choosing a detailed photo
- Small faces in a group shot or fine patterns disappear in cork grain. Crop tight or choose another photo.
- Raising the DPI to fix detail
- The grain sets the limit. More DPI only adds time and charring.
- Too much power
- Cork burns fast. Dense areas can char into black patches. Test low first.
- Low-contrast photos
- A flat, dim photo stays flat on cork even with the preset. Start with good light, or try the Punchy look.
Questions
About engraving photos on cork. More in the guides.
- Can you laser engrave photos on cork?
- Yes, but cork's grain hides fine detail. Bold, high-contrast photos with simple subjects work best.
- Do I invert the photo for cork?
- No. Cork marks dark, so the preset sends the photo as is.
- Which dither is best for cork?
- The app's cork preset uses Stucki for smooth gradients. Ultra is also worth a try. Compare them in Easy Mode, or read about each in image dithering for laser.
- What DPI should I use for cork?
- 254 DPI for most diode and CO2 lasers. Going higher rarely shows more on cork.
- How do I make a set of photo coasters?
- Make one recipe with the cork preset, the circle crop and your coaster size, then run all photos at once in Batch.
Keep going
Make your cork file.
Sign up free to download the file you made here, then use One Click, Easy Mode and Batch in the app.
Free account, email link, no card.